
Build A Floating Shelf
Build A Floating Shelf. We cut ours to 25 per shelf. Building floating shelves is a really easy and quick project and involves a few cuts and boards. You can always modify the width and depth to fit your needs. Rip the cleat to width and then crosscut it to length.
Step 1 measure and make the cuts.

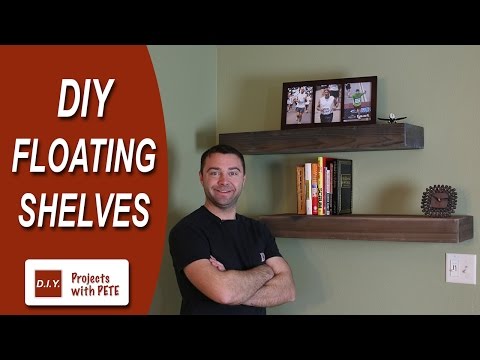
Build a floating shelf. Put together the pine and common boards to build this floating shelf. The beauty of this is you can make them with no hardware. For less than 10 you could make 3 all of these.
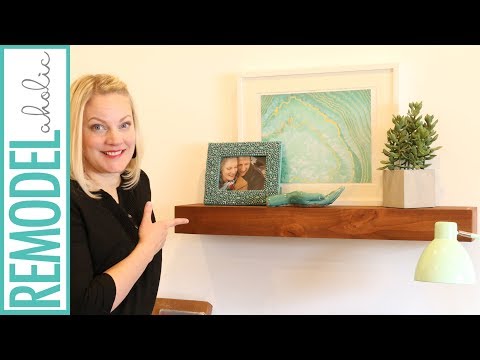
Check out the plans for guides to building your own shelf. To make floating shelves start by cutting a piece of wood into three pieces so that the first piece is as long as your shelf panel which is the flat piece of wood that forms the bottom of the shelf and the other 2 pieces are the same width as the shelf. Give a custom stain finish to make this floating shelf extra gorgeous.
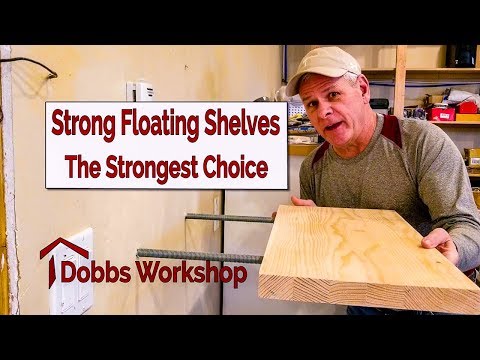
How to build shorter shelves. Building floating shelves is a really easy and quick project and involves a few cuts and boards. Get here easy instructions to build a floating shelf like a pro.
Cut a wall cleat h out of a straight 2 4 and make it 1 1 2 in. Have the necessary tools for this diy floating shelves project lined up before you start you ll save time and frustration. The most cost effective way to create diy floating shelves is to buy a larger piece of wood and cut it into smaller sections using a miter or circular saw.
Use your circular saw and the same cutting guide you used to cut the plywood pieces to width set another 2 4 under the guide to keep it from tipping. Though they may look like the shelves are floating on air there s actually a hidden support piece that mounts the shelf in place. Floating shelves can enhance any area.
Build shorter shelves by cutting the shelf to length. Diy bathroom floating shelves. Obviously you ll want to customize the size to fit the space where you plan to hang them.
This tutorial walks you through the simplest way to build your floating shelf using a support bracket that s finished on the top and sides to hide the support piece underneath. Required tools for this project. How to make floating shelves.
Glue a filler block flush with the end and nail each side with small brad nails. We cut ours to 25 per shelf. Grab the pocket screws and wood screws to install these shelves on the wall.
 Diy Floating Corner Shelves A Beautiful Mess Floating Shelves Diy Floating Shelves Bathroom Diy Shelves
  Diy Floating Shelves The Home Depot Floating Shelves Diy Modern Floating Shelves Bookshelves Diy
  Diy Media Shelves Free Plans Video Tutorial Shanty 2 Chic Floating Shelves Diy Build Floating Shelves Diy Shelves
  Diy Floating Corner Shelves Diy Wall Shelves Floating Shelves Living Room Wood Floating Shelves
  An Excellent Exploded Diagram Of A Floating Shelf That We Commonly Build And Install Floating Sh Build Floating Shelves Floating Shelf Plans Floating Shelves
  The Nicest And Cleverest Diy Floating Shelving Idea And Its Multi Advantages Diy Aspects Floating Shelves Diy Oak Floating Shelves Floating Shelves
  Build Diy Floating Shelves With Ana White Young House Love Floating Shelves Shelves Floating Shelves Diy
  Pin On Diy Floating Shelves Ideas
  Adding Built Ins White Floating Shelves Around A Window Niche Young House Love White Floating Shelves Wood Floating Shelves Floating Shelves
  How To Create Long Deep Thin Floating Shelves In 2020 Long Floating Shelves Floating Shelves Wood Floating Shelves
  Pin On Ideas To Steal
  Float On Wood Floating Shelves Floating Shelves Diy Diy Wood Shelves
  Diy Wood Floating Shelf Wood Floating Shelves Floating Shelves Diy Home Diy
  How To Build Floating Shelves For Tornado Shelter Pantry Shelves Build Floating Shelves Pantry Shelving
  Diy Floating Shelves Bonus Room Makeover Project Floating Shelves Living Room Floating Shelves Floating Shelves Bedroom
  Diy Floating Shelves Plans And Tutorial Floating Shelves Diy Floating Shelf Plans Home Diy The 15 Bathroom Storage Idea More People Should Try Floating Shelves Diy Rustic Floating Shelves Floating Shelves
  How To Build Simple Floating Shelves For Any Room In The House Floating Shelves Floating Shelves Diy Shelves
  Easy Diy Floating Shelf With Brackets Floating Shelves Diy Long Floating Shelves Floating Shelves
  Diy Floating Shelves For Easy Storage Floating Shelves Diy Wood Floating Shelves Wood Shelves
 This page has many information about build a floating shelf. How to Build Shorter Shelves. Build shorter shelves by cutting the shelf to length. Glue a filler block flush with the end and nail each side with small brad nails. Required Tools for this Project. Have the necessary tools for this DIY floating shelves project lined up before you start—you'll save time and frustration. Circular saw; Glue; Hammer; Level. Ever wonder how floating shelves are made? Here's how! JOIN ME ONLINE:Instagram: https://www.instagram.com/timberandtea_Facebook: https://www.facebook.com/ti.... About Press Copyright Contact us Creators Advertise Developers Terms Privacy Policy & Safety How YouTube works Test new features Press Copyright Contact us Creators .... Cut a wall cleat (H) out of a straight 2×4 and make it 1-1/2 in. x 1-3/8 in. x 70-3/4 in. Use your circular saw and the same cutting guide you used to cut the plywood pieces to width (set another 2×4 under the guide to keep it from tipping). Rip the cleat to width and then crosscut it to length.. Floating shelves can enhance any area. For less than $10 you could make 3 all of these. The beauty of this is you can make them with no hardware. Shelf Dimen....
Videos of build a floating shelf:


Duration: 08:20. Views: 20000+


Posting Komentar untuk "Build A Floating Shelf"